Glawning
Quick Guide
Glawning
Quick Guide
Quick Guide
What you need to know to get started
When choosing the main tent there are two main things to decide - the number of doors (1, 2 or 3) and the overall size (4 metre or 5 metre).
Fewer doors means less cost and lower weight. However, more doors gives you greater headroom, more openings to look out on the world outside and more connection options.
A 4m will take up a metre less on your pitch and will save you a few quid, but the 5m has more floor space and more headroom (due to the higher centre pole).
For more details on these options click below to see our comparison chart.
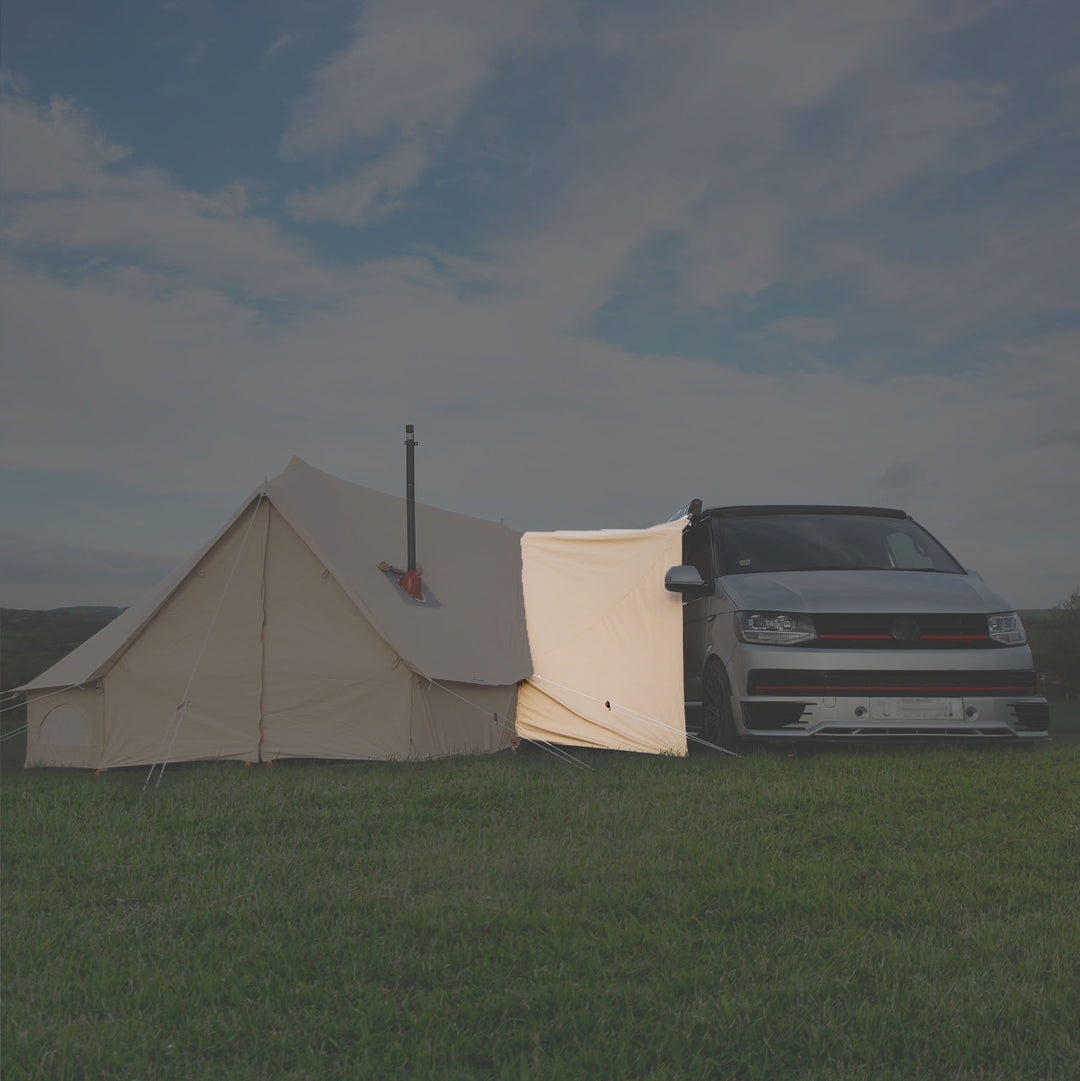
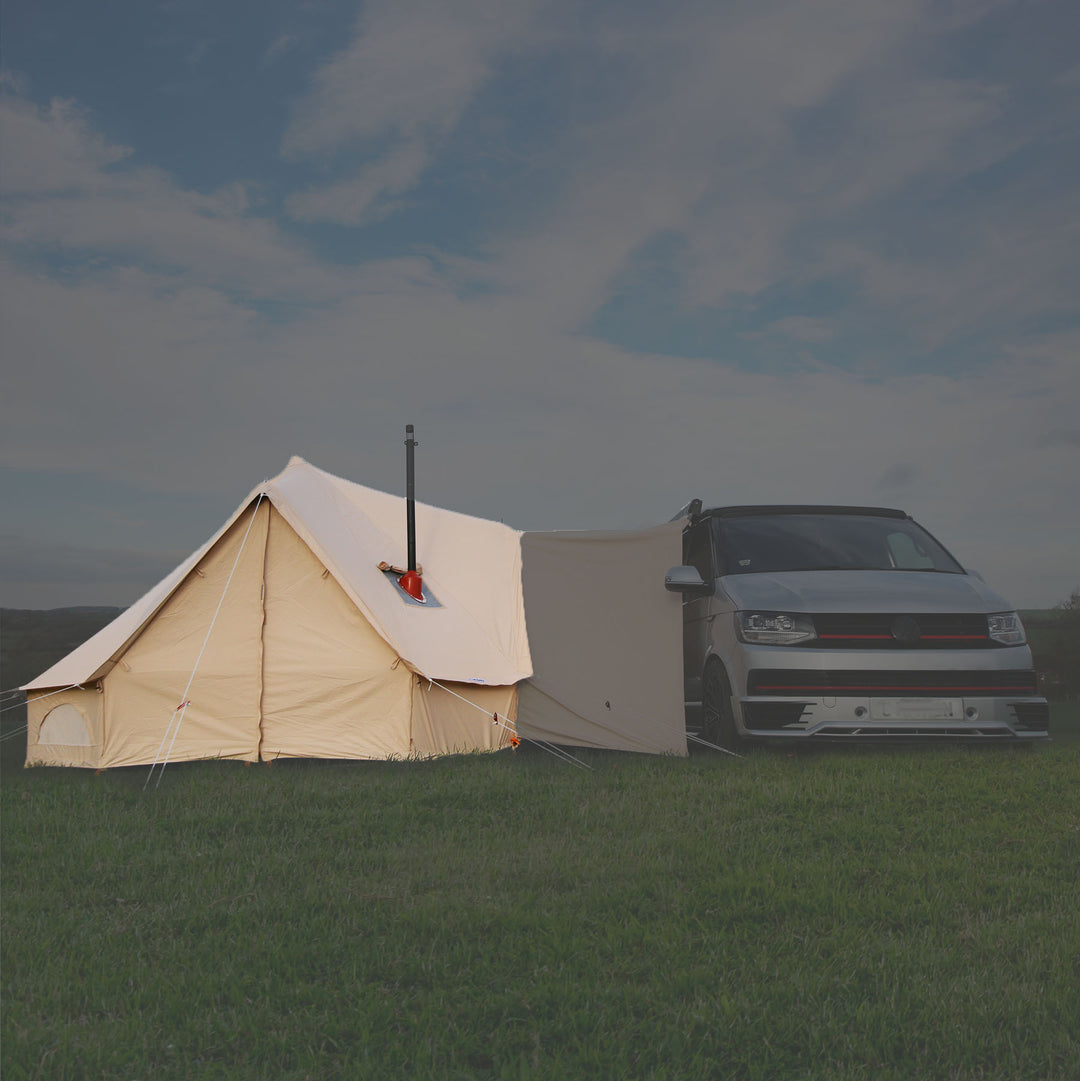
Ignore this step if you're not connecting to a vehicle!
Otherwise, you'll need to buy a connecting canopy:
Next, consider how you will connect it. The glawning connects in the same way as other awnings (usually via an awning rail, but with alternative options).
Still not sure? View our connection guide for more on all the above.
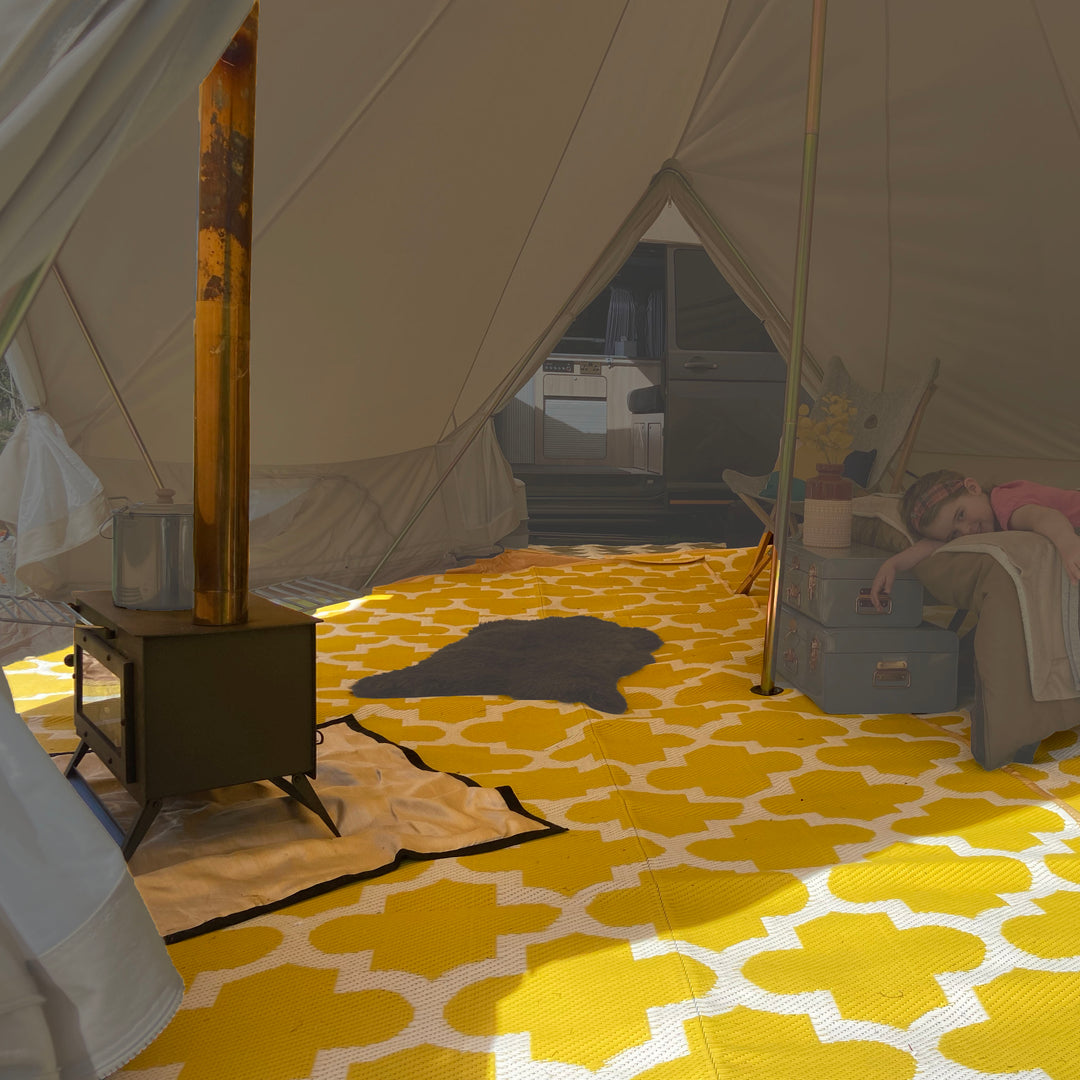
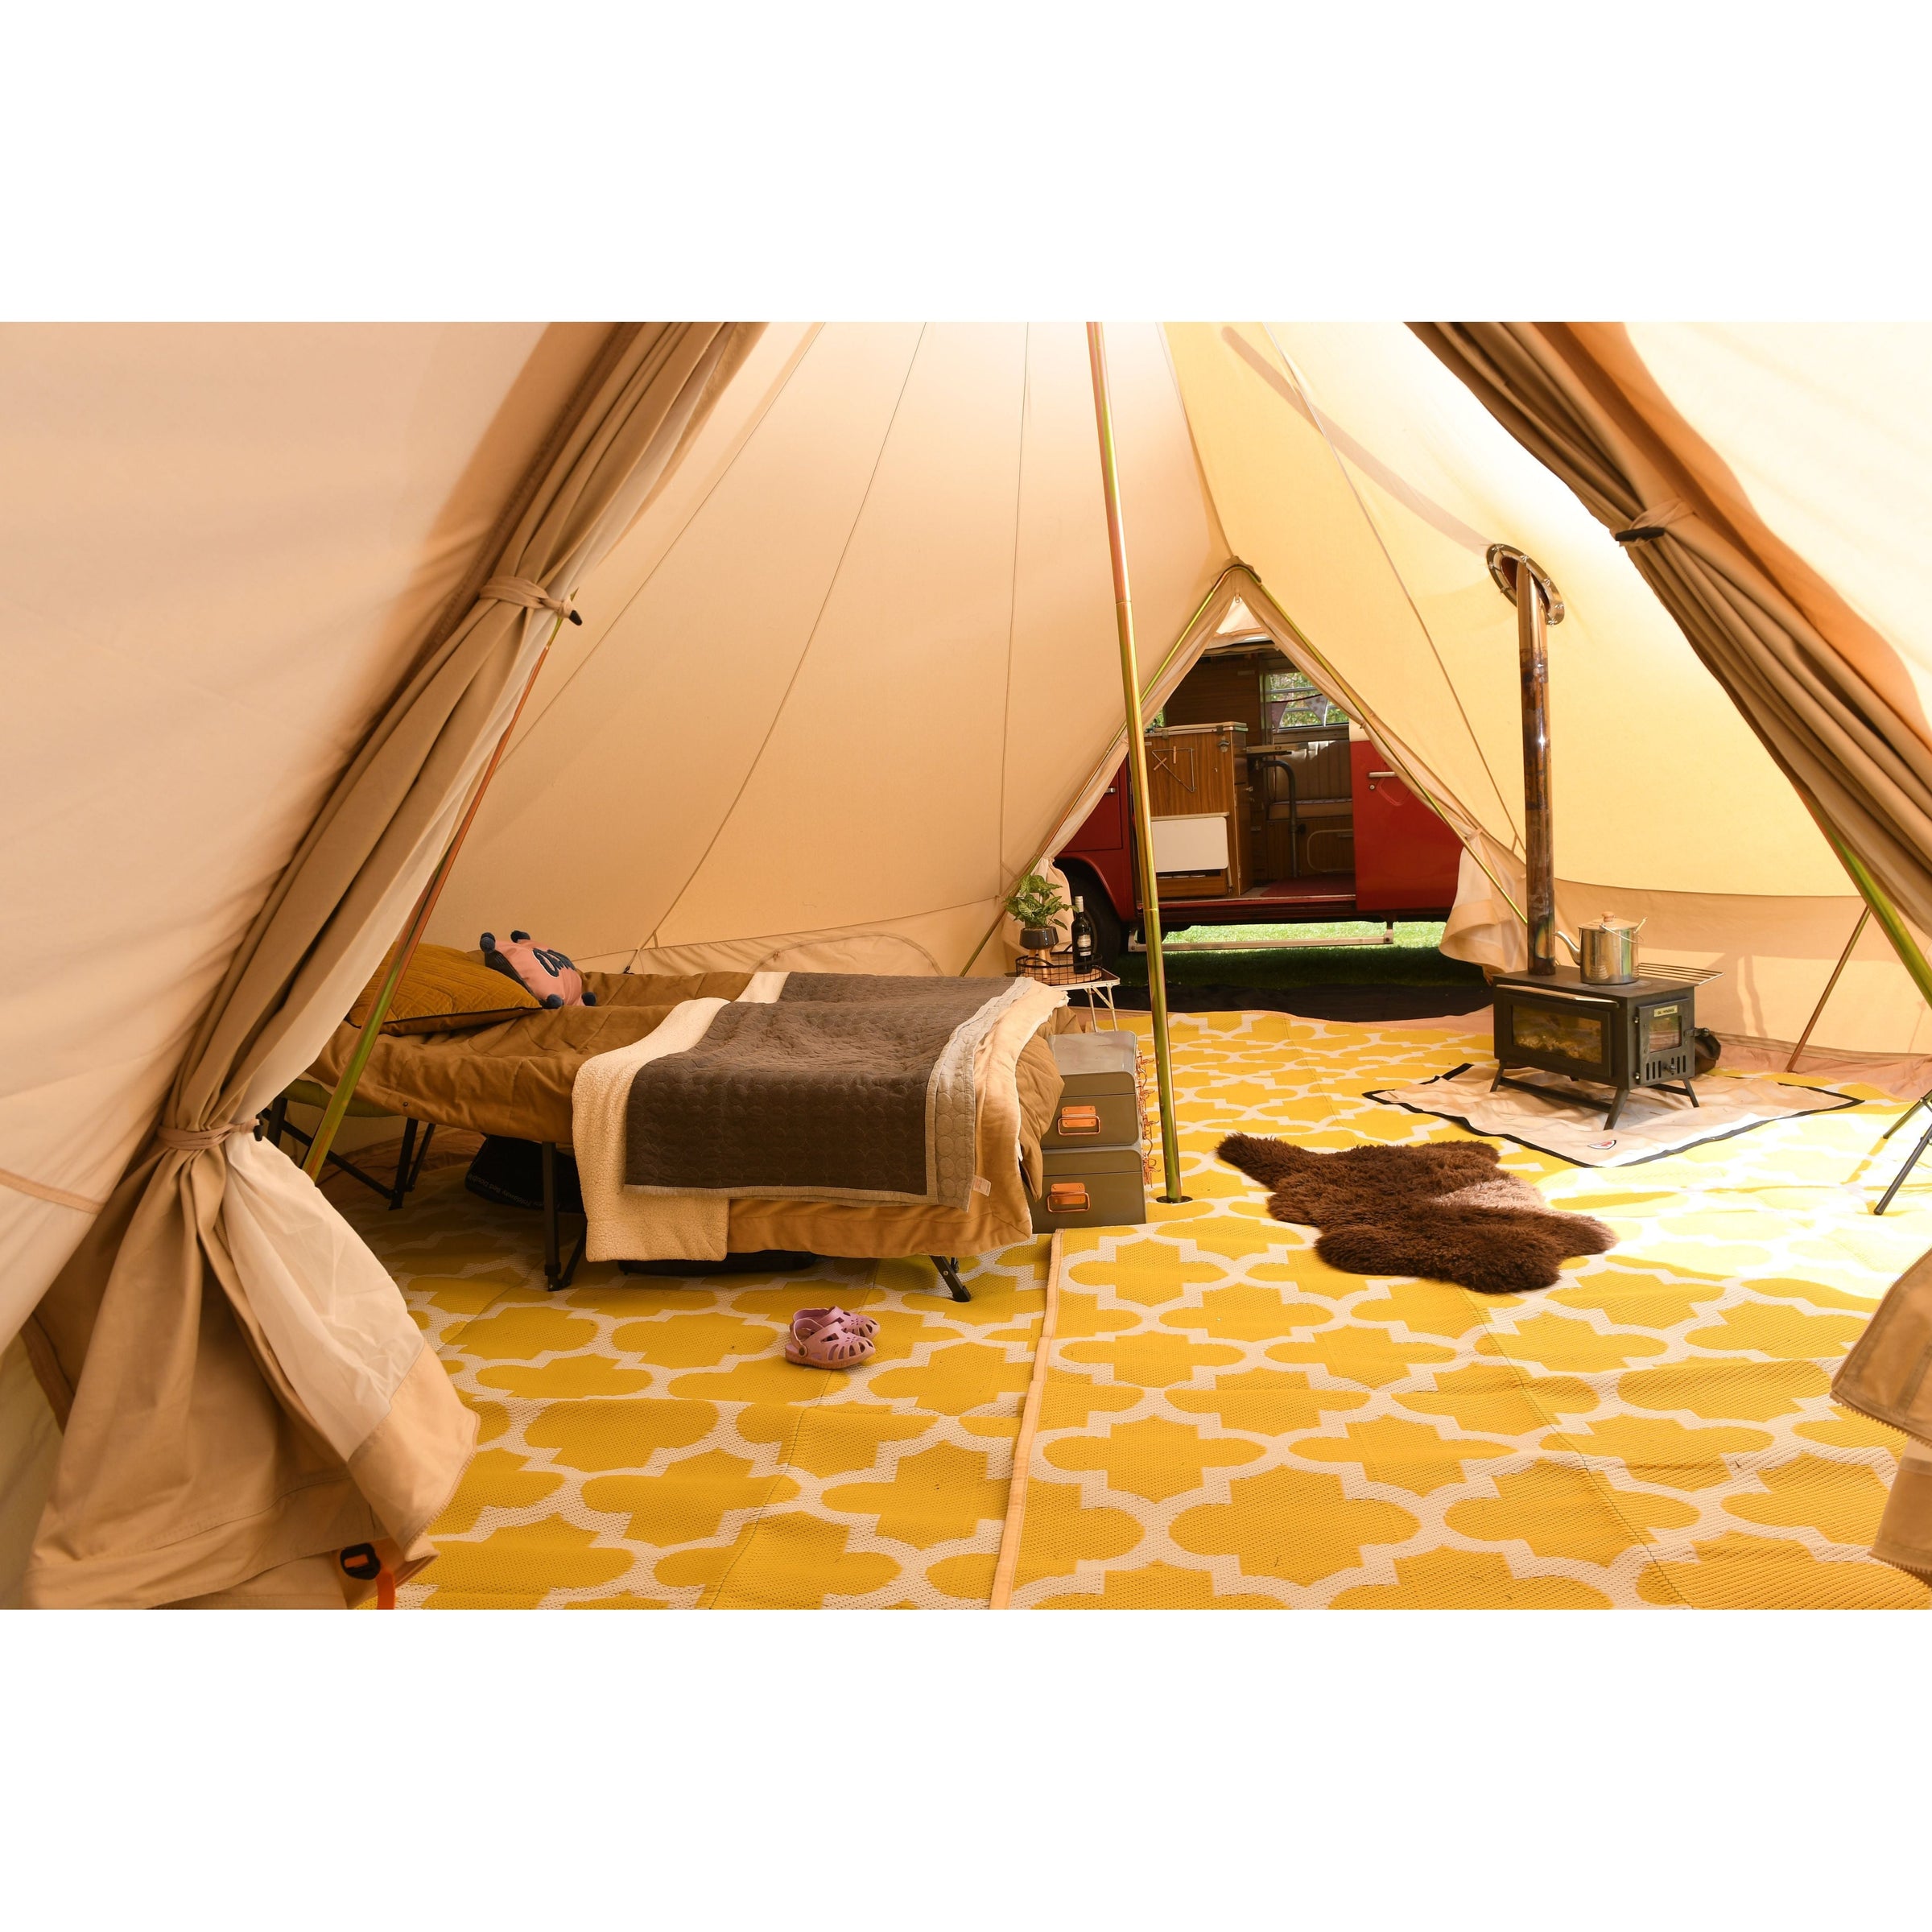
Now for the really fun bit! Choose from a range of luxury accessories to make your Glawning a true home from home.
We offer recycled polypropylene matting in a range of colours and patterns to suit your taste, along with woodburning stoves to keep you warm and cosy and to cook on.
Other popular items are: